


How to Pitch an Inflatable Tent
Are you tired of struggling with tent poles and complicated setups? Well, say goodbye to those days because we're about to unveil the easiest and most efficient way to set up an air beam tent. Join us as we walk you through the process step by step, using the Core and Culla Family tents as our examples.
Preparation is Key
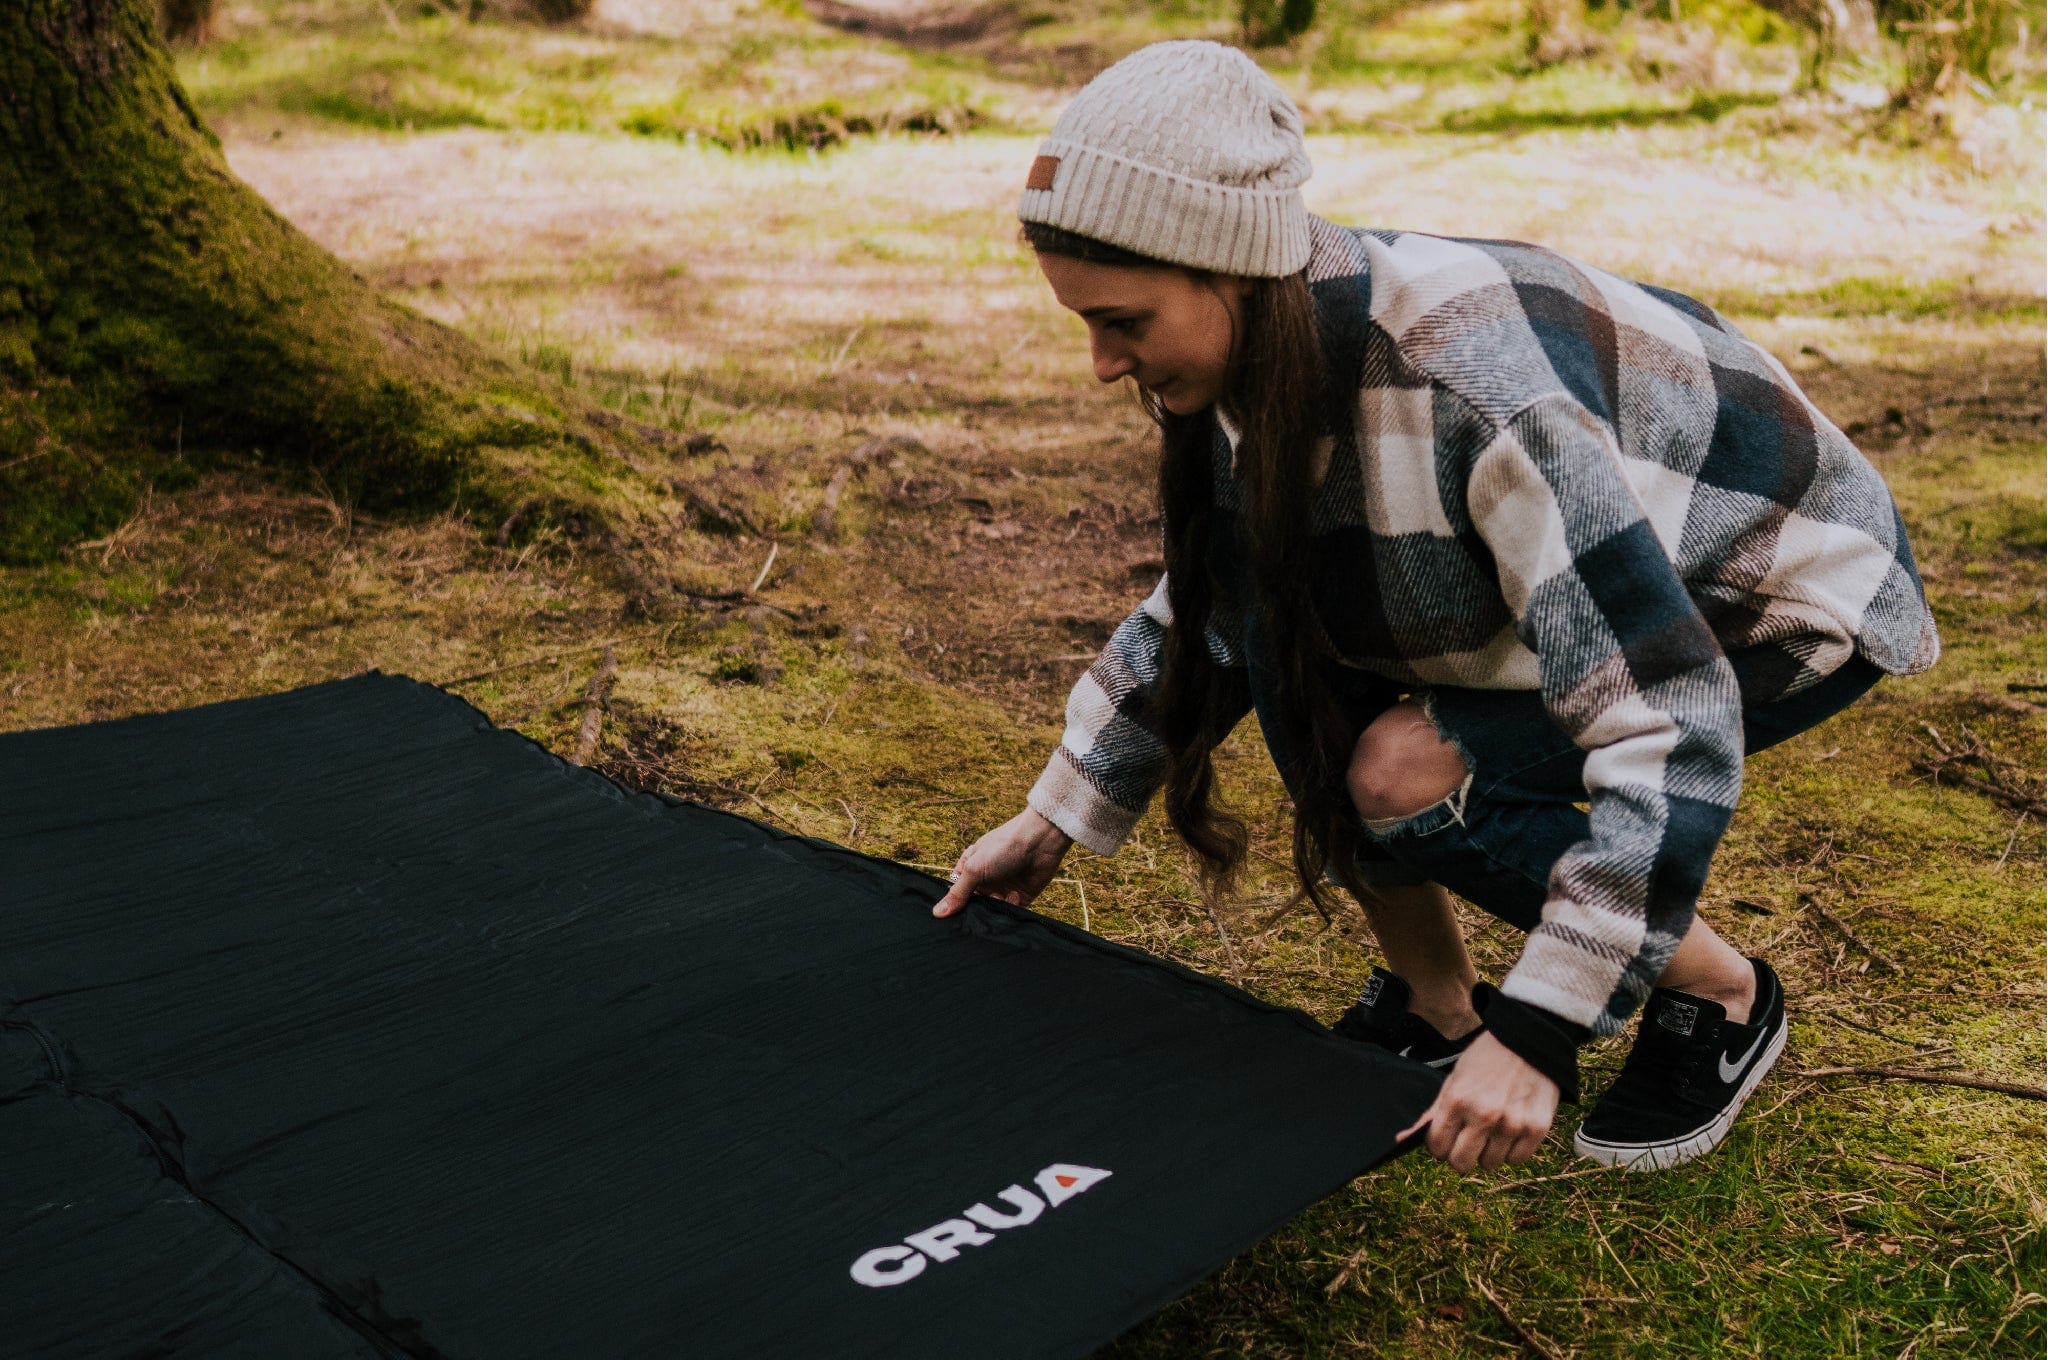
Before diving into setup, it's crucial to survey the ground where you'll be pitching your tent. Ensure it's free of any sharp objects like stones, rocks, twigs, or branches that could potentially damage the tent floor or disrupt your sleep comfort. Once you've cleared the area, it's time to lay down the footprint—a protective layer between the ground and your tent floor. Remember, the footprint should be slightly smaller than the tent floor to prevent water pooling.
Setting Up the Tent
With the groundwork laid, it's time to erect the tent. Unlike traditional pole tents, air beam tents offer a hassle-free setup, perfect for solo adventurers. Locate the inflation valves on your tent—usually one for each air beam—and begin inflating. Start with a partial inflation to give the tent some shape before fully inflating it. This step ensures proper orientation on the footprint, especially in windy conditions.
Once the tent is partially inflated, secure it by staking down the corners. Then, proceed to fully inflate the air beams and attach the guidelines to stabilize the structure. Pay attention to tension adjustment for optimal stability, and always ensure the tent doors are closed during setup to avoid unnecessary complications.
Final Touches and Interior Setup
With the exterior set up, it's time to focus on the interior. Open the tent doors to allow air circulation before installing the inner tent or additional accessories. In this case, we're adding the insulated inner tent, tailored for cozy family camping experiences.
Remember to follow manufacturer guidelines for air beam pressure to avoid overinflation. Most air beam tents recommend a specific PSI, so keep an eye on your pump gauge. Once fully set up, your air beam tent is ready for relaxation or adventure, depending on your mood.
Pros and Cons: Air Beam vs. Rigid Frame Tents
While air beam tents offer convenience and quick setup, it's essential to weigh the pros and cons compared to traditional rigid frame tents. Stay tuned for our upcoming video where we delve deeper into this comparison.
Get in Touch
Have questions or need further assistance? Drop them in the comments section, and our team will be happy to assist you. Your feedback and inquiries are valuable to us!


Leave a comment
All comments are moderated before being published.
This site is protected by hCaptcha and the hCaptcha Privacy Policy and Terms of Service apply.